
Sourdough bread, with its tangy flavor and chewy texture, has become increasingly popular in recent years. While it may seem daunting to make at home, with a little practice and patience, you can achieve perfect results every time. In this article, we will guide you through the process of making your own delicious sourdough bread.
Creating a Sourdough Starter
The first step in making sourdough bread is creating a sourdough starter. This is a mixture of flour and water that ferments over time, capturing wild yeast and bacteria from the environment. To make a starter, simply combine equal parts of flour and water in a jar and let it sit at room temperature for a few days, feeding it with more flour and water each day. Once your starter is bubbly and has a pleasant sour smell, it is ready to use.
Mixing the Dough
Once your starter is ready, it’s time to mix the dough. In a large bowl, combine flour, water, and a small amount of your sourdough starter. Mix everything together until a shaggy dough forms. Cover the bowl and let it rest for about 30 minutes. This resting period, known as autolyse, allows the flour to fully hydrate and helps develop gluten.
Adding Salt and Fermenting
After the autolyse, it’s time to add salt to the dough. Salt not only enhances the flavor of the bread but also helps regulate fermentation. Mix the salt into the dough until well incorporated. Then, cover the bowl and let the dough ferment for several hours at room temperature. During this time, the wild yeast in the starter will slowly ferment the dough, giving it its distinct sour flavor.
Stretching and Folding
To develop strength and structure in your dough, it’s important to perform a series of stretch and folds. Every 30 minutes or so, wet your hands and grab one side of the dough, stretching it up and folding it over itself. Rotate the bowl and repeat this process for a few times until the dough feels smooth and elastic. These stretch and folds help trap air in the dough, creating a light and airy texture in the final loaf.
Shaping and Proofing
Once your dough has gone through the stretch and fold process, it’s time to shape it into a loaf. Dust your work surface with flour and gently transfer the dough onto it. Using your hands, pull the edges of the dough towards the center, creating tension on the surface. Flip the dough over and let it rest, seam side down, in a floured proofing basket or a bowl lined with a cloth. Cover the dough and let it proof at room temperature until it has doubled in size, which usually takes around 4-6 hours.
Baking the Bread
Finally, it’s time to bake your sourdough bread. Preheat your oven and a baking vessel, such as a Dutch oven or a baking stone, to a high temperature. Carefully transfer the proofed dough into the hot vessel and score the top with a sharp knife or a razor blade. Cover the vessel and bake the bread for about 20 minutes. Then, remove the cover and continue baking for another 20-30 minutes until the bread is golden brown and sounds hollow when tapped on the bottom.
Enjoying the Fruits of Your Labor
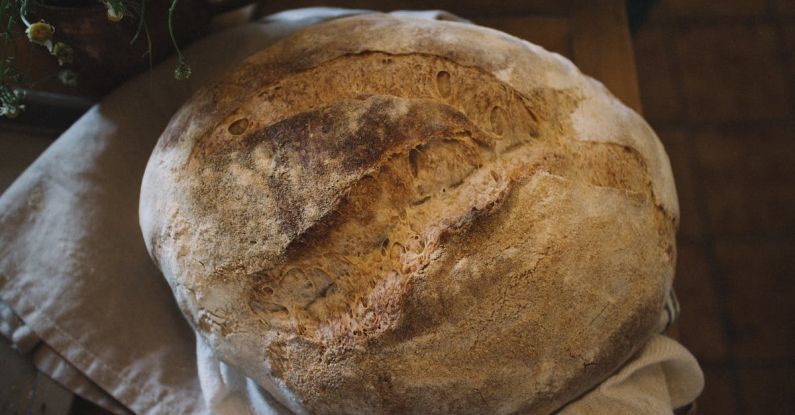
Once your sourdough bread is baked to perfection, remove it from the oven and let it cool on a wire rack. It’s important to resist the temptation to cut into the loaf immediately, as it needs time to cool and finish setting. Once completely cooled, slice into the bread and enjoy the tangy, chewy goodness of your homemade sourdough.
In conclusion, making perfect sourdough bread requires time, attention to detail, and a bit of trial and error. By following these steps and persevering through the process, you will be rewarded with a delicious loaf of bread that is sure to impress your family and friends. So, roll up your sleeves, gather your ingredients, and get ready to embark on a sourdough bread-making adventure.